Preliminaries
In this tutorial we’ll show you how to get up and running with the popular LAMP stack for developing websites. We’ll assume that you’ve created a non-root user with sudo privileges and have logged in using that user. If you haven’t yet done so, check out our “Getting Started With Your Stack” tutorial.
An Intro to LAMP
LAMP stands for Linux, Apache, MySQL, PHP. Each component provides different functionality required for creating an application on the web. The role of Linux is hopefully clear since we’re running a Ubuntu distribution. Apache provides the web server functionality, MySQL the database technology, and PHP the dynamic content generation and processing. With the increasing growth of different web technologies, many users choose to swap out some of these components with different packages providing similar or upgraded functionality. For example MySQL has been replaced in many contexts by MariaDB, an open-source fork of MySQL. You can continue to use the same terminology and syntax when working with MariaDB as you did when using MySQL. For the purpose of this tutorial, we will be installing MariaDB in place of MySQL which thankfully does not change the catchy LAMP naming.
Installing Apache Web Server
We first begin by updating our package list and available packages
sudo apt-get update
We can then install apache using the package manager
sudo apt-get install apache2
Once this is complete, you’ll be able to point your browser to your server’s IP address and you’ll be shown the following page:
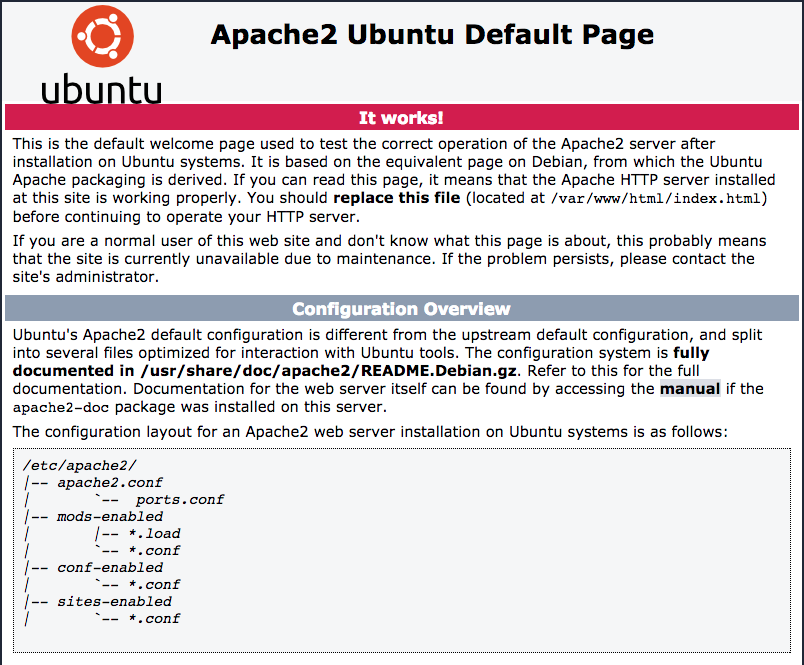
You should replace this index page located at /var/www/html/index.html with your own and begin customizing your web page and server.
Installing PHP
Now that we have the apache webserver up and running, we can install PHP to begin writing some scripts to power the backend of our web application.
sudo apt-get install php5 php-pear php5-mysql
With this command, you’ll install PHP5, a mysql driver for PHP, and the PHP Extension and Application Repository (PEAR). To make sure the installation proceeded smoothly, create a file in your website directory at /var/www/html called test.php. Open up the file using nano by running the following command
sudo nano /var/www/html/test.php
Enter the following PHP script into the file.
<?php
phpinfo();
?>
Save and close the file by pressing CTRL-X, then Y, and RETURN. Now, if you point your browser again to http://YOUR_IP_ADDRESS/test.php you should see the following page.
PHPINFO_SCREENSHOT
This page details a number of PHP settings and variables but is mainly helpful in letting us know that PHP is working and ready for scripting. You can remove the test.php file now by running the command sudo rm -f /var/www/html/test.php if you’d like. We’re ready to move forward.
Installing MariaDB
We’re now going to install MariaDB using the package manager
sudo apt-get install libmariadbd-dev mariadb-server
During the installation you’ll be prompted to enter a root password. You should set this and keep it secure. Once the installation is complete, you should run mysql_secure_installation. This is a script that comes with every installation of MariaDB/MySQL that removes some vulnerabilities from your database server and prepares it for production. You’ll be prompted to enter your root password, remove anonymous users, disable remote root login, and remove test databases. Its recommended you accept all of these options.
Once you’re done, you can log into your database server by running
mysql -u root -p
after which you’ll be prompted for the root password you created during installation.
Final Words
That’s it! You’re ready to start developing your web application using apache, MariaDB, and PHP. Check out our community section for more tutorials on how to begin developing using our Stacks. Cheers from Stack Harbor!